Today we have Vicki and she will be sharing her expertise on how to paint portraits!
Vicki is also a Dya Creative Instructor and a qualified Art Therapist, how amazing is that!
While it may seem intimidating to draw or paint someone’s face, Vicki said it’s actually not that hard. All we need is to learn the basics on how to create a person’s face.
What you’ll need:
- Canvas of any size
- Some paint colours
- A paintbrush
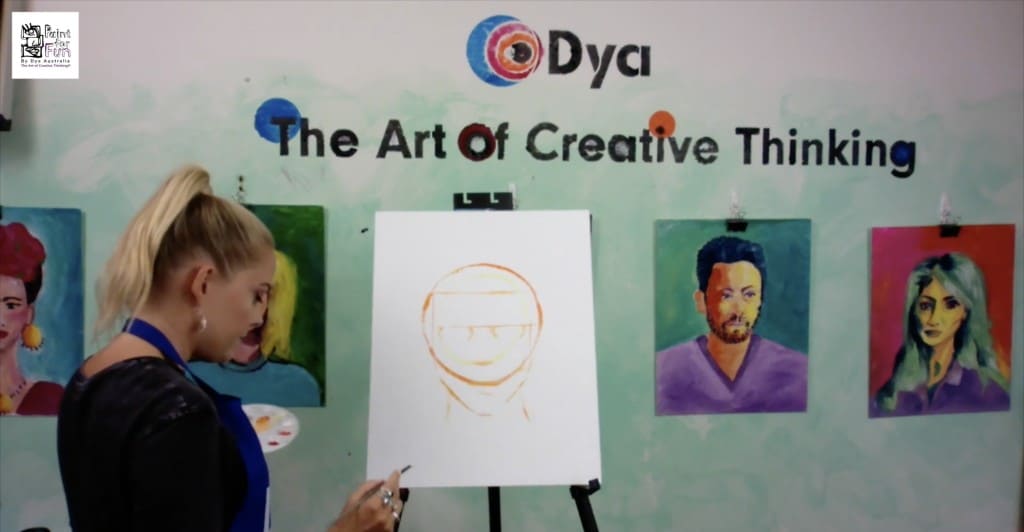
CREATING A SKETCH
Step 1: Create a circle to outline the face
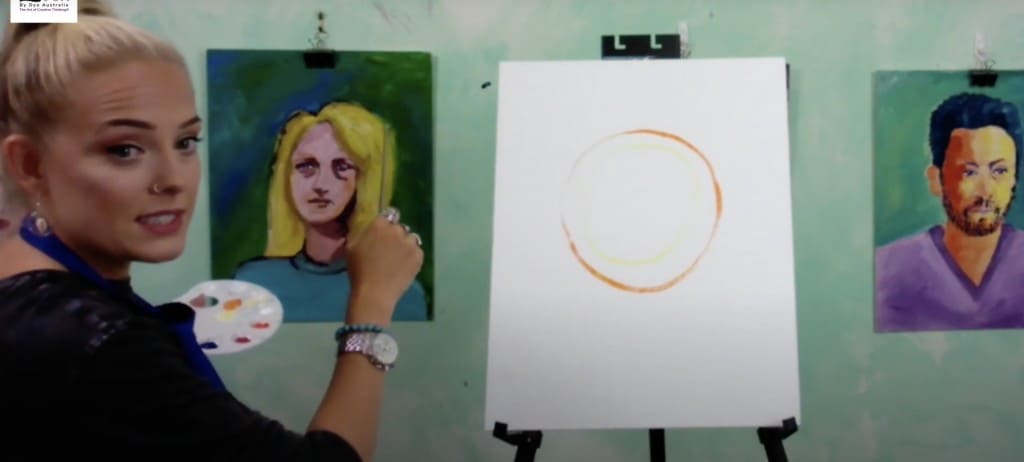
- Using a light coloured paint, draw a circle on your canvas to start with the portrait’s guiding proportion.
- Vicki explained that it’s so much easier to start with a light colour than a dark colour, just in case we need to make changes down the line.
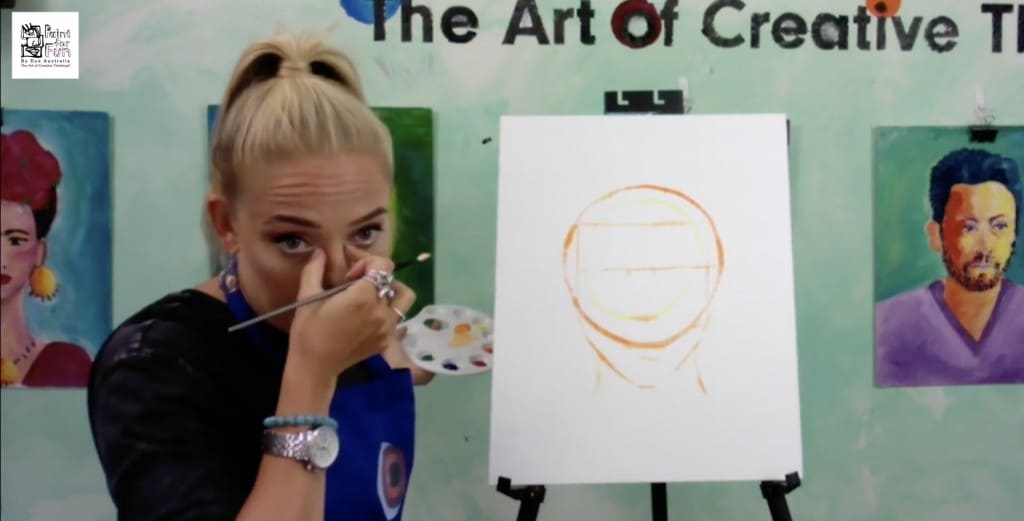
Step 2: Create the face

- Draw lines on the side of the face (i.e. on the inside circle). Then paint a line through the middle of the circle to help us guide where the eyes will be.
Step 3: Create the chin
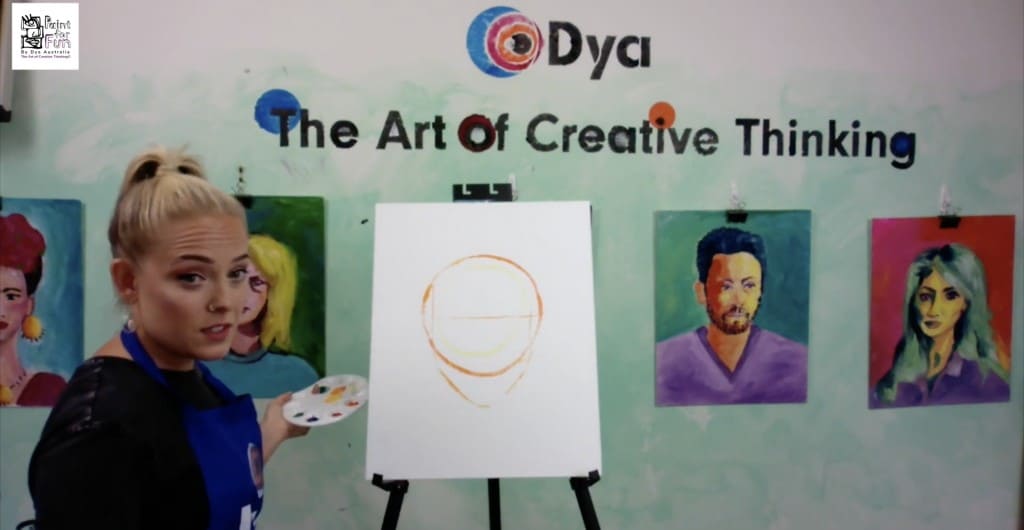
- Paint a spot just below where the bottom of the circle to indicate where the chin is. And then paint two lines to connect both sides of the chin to the middle point you just did.
- Pro tip: if you have a reference photo to guide your painting, it would be super helpful!
Step 4: Create the neck
- Paint two lines the sides of the neck
Step 5: Create the nose
- Paint a little line to mark where the nose is just above the bottom of the original circle you painted (the bottom of the circle is where the lips will be painted).
- Draw a halfway line between the top of the circle and the horizontal line we did on step 2.
Now you have a rough guide to start your portrait painting!
EYE
Next we will, starting painting the eye. Vicki showed us how to do this by marking 4 equal parts lines on the diagonal line we created on step 2. Then draw little diagonal lines under the middle line.
When you have this, you can start painting the inner details of the eyes (you can start with an almond shape in this step) and also the pupil of the eyes.
NOSE
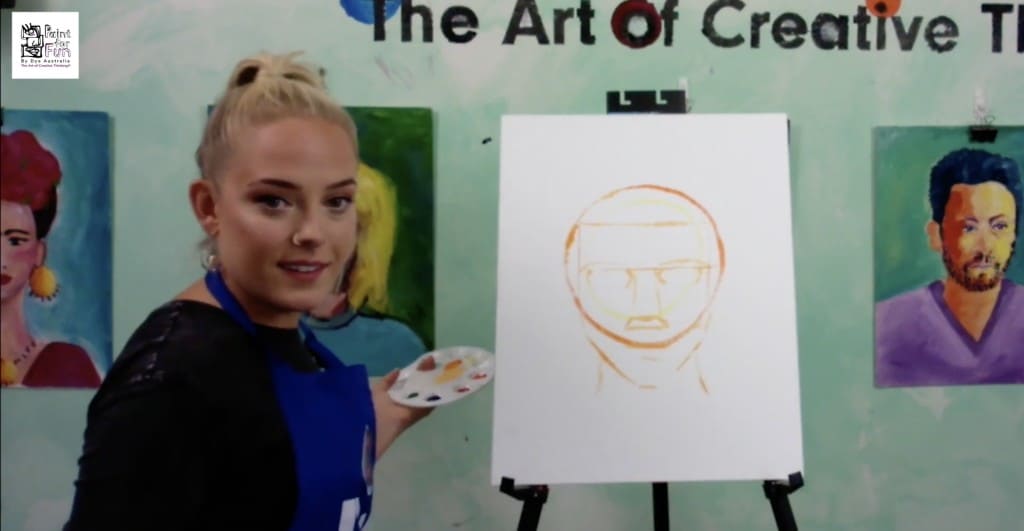
Draw connecting lines between the inner brackets of the eyes and the mark you painted in step 5. Then add a small line and two little circle just under the nose and there you have a perfect nose!
EYEBROWS
Paint two lines just above the eyes to have the eyebrows. Here you can start differentiating between a male or a female portrait. A female’s facial feature has a larger eyebrow space compared to a male’s facial feature.
LIPS
Paint the lips on the bottom of the circle you painted in step 1.
NECK AND SHOULDERS
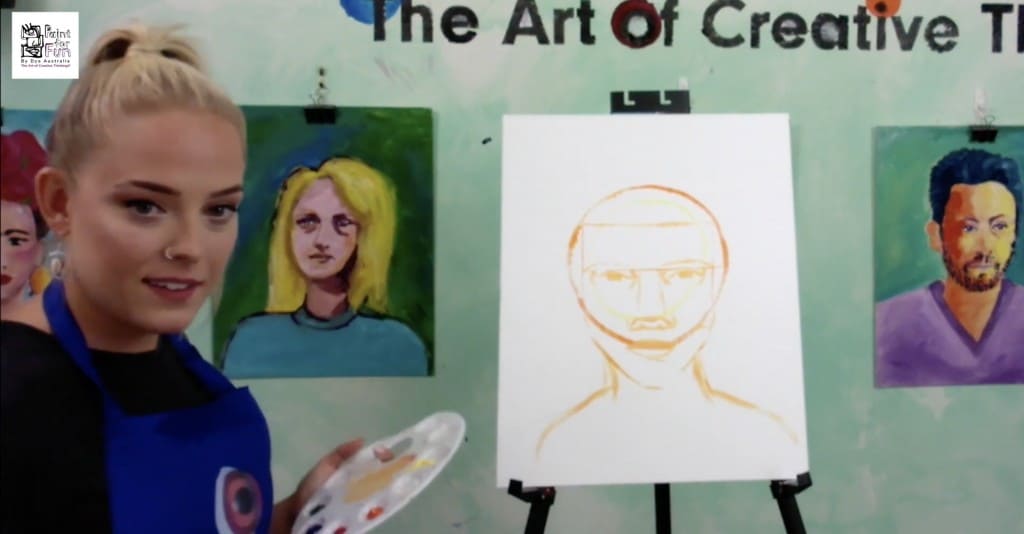
Shape the neck and continue to paint the top of the portrait’s shoulders
HAIR
Wavy hair? Long straight hair? What does the person’s portrait/hair looks like? Be as creative as you want and start filling in the colours in!
At the end of this tutorial video, we will have a sketch of a person’s portrait.
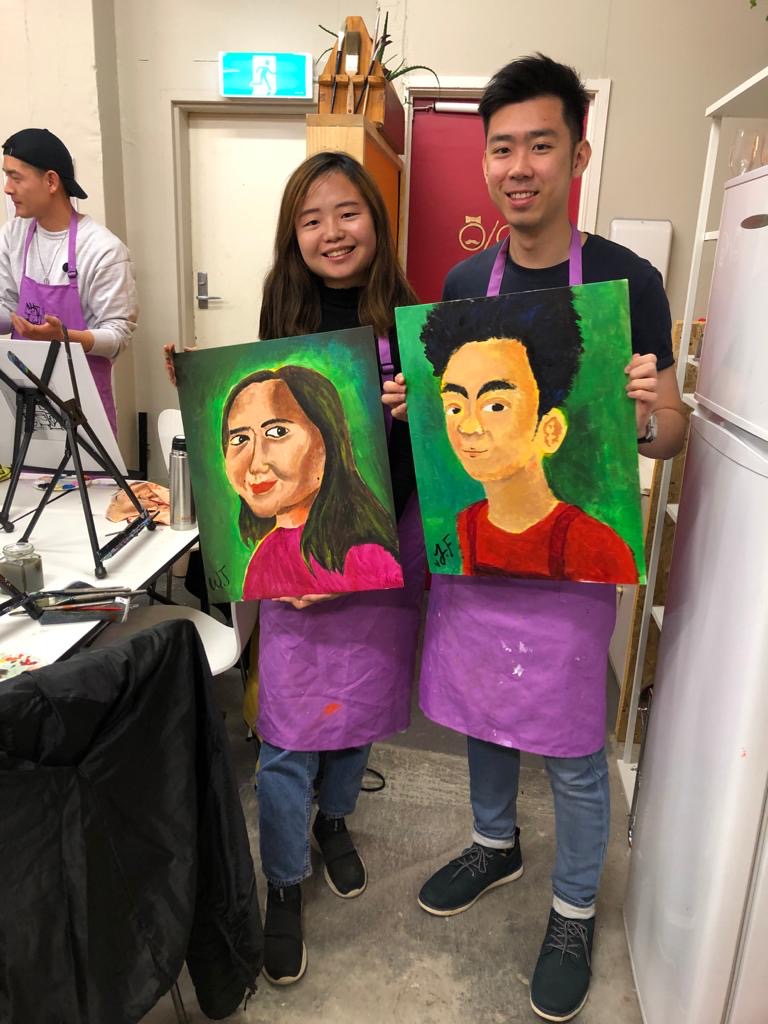
Are you loving the idea putting your perception of yourself or a loved on to the test? If so you’re going to love our painting partners workshops.
You have the opportunity to create loving memories that will be cherished forever!
Head over to our website to secure your spot in the next Paint and Sip: Painting Partners workshop for yourself and a loved one.
Painting Partners workshop here: https://classbento.com.au/l/p8y2-w

For more information, visit our upcoming workshops at https://paintforfun.com.au/events-calendar/